Titan outdoor camera offers a wide viewing angle and stable Wi-Fi to keep your life safe whenever and wherever you are.
Specifications Installation Pairing Resetting
SPECIFICATIONS
- Robust outdoor design with IP65 rated enclosure
- PIR Motion sensor to reduce false triggers
- Built-in infraed super LEDs for Night Vision (up to 32 feet)
- High image quality with HD 720p resolution
- Extended and stable connectivitiy with 2×2 MIMO Wi-Fi
- Supports standard Power over Ethernet (PoE – IEEE802.3af) to reduce clutter and provide better Wi-Fi connections for outdoor cameras
- Camera Dimensions: 2.7″x2.7″x1.2″
- PoE Wi-Fi Bridge Dimensions: 2.16″ X 4.47″ X 1.69″
- Camera Temperature range: -4 to 104 deg F
- PoE Wi-Fi Bridge Dimensions: 32 to 104 deg F
Setup
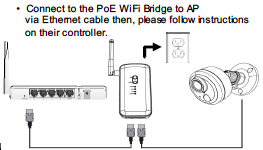
A. Connect the PPPoE bridge (White box with antenna) to your home router LAN port with the supplied ethernet cable
B. Connect the black Ethernet cable to the PPPoE bridge to the camera
C. Connect the PPPoE bridge to power outlet
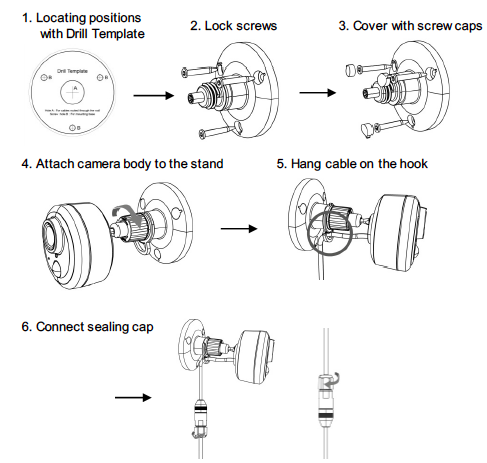
Installation
Pairing
To a Hub
You can add cameras when you activate Touchstone, or at a later time. If you want to add a camera that was not included with the original Touchstone package, make sure your service provider supports it.
To add a camera, click SETTINGS on the toolbar.
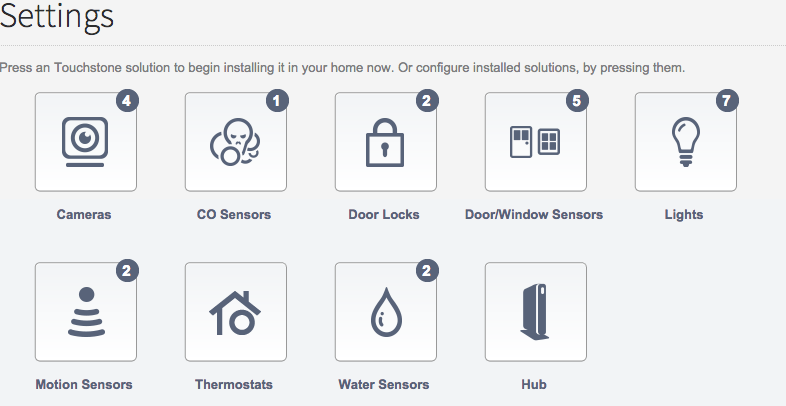
Click Cameras to display the camera settings page.
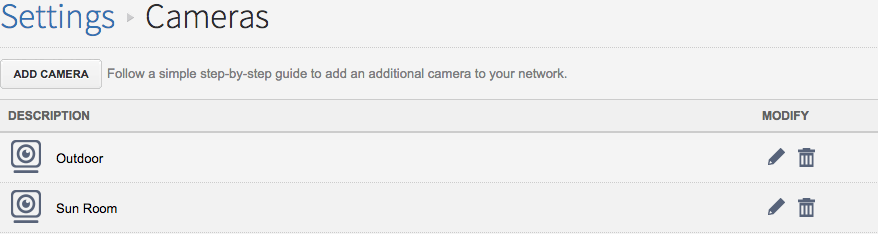
Click ADD CAMERA and follow the on screen prompts.
To a Touchscreen
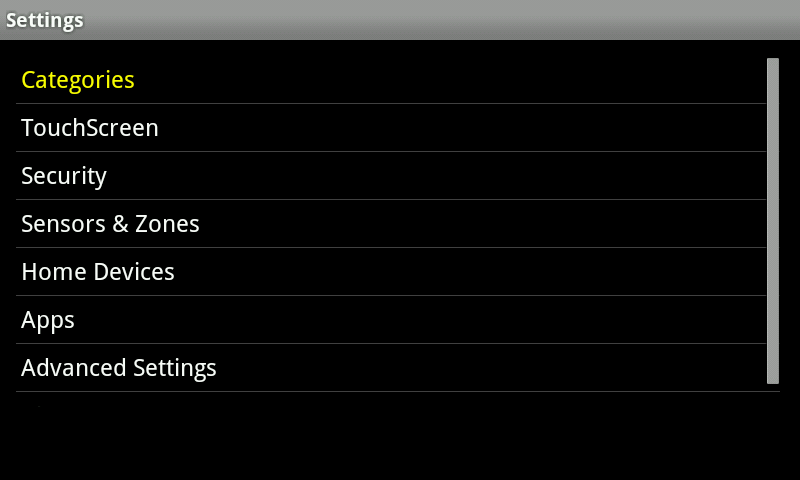
From the main page of the Touchscreen, touch the Settings Icon  and enter your 4 digit master code. This is the code that you use to arm and disarm your system. Choose ‘Home Devices’ from the categories page.
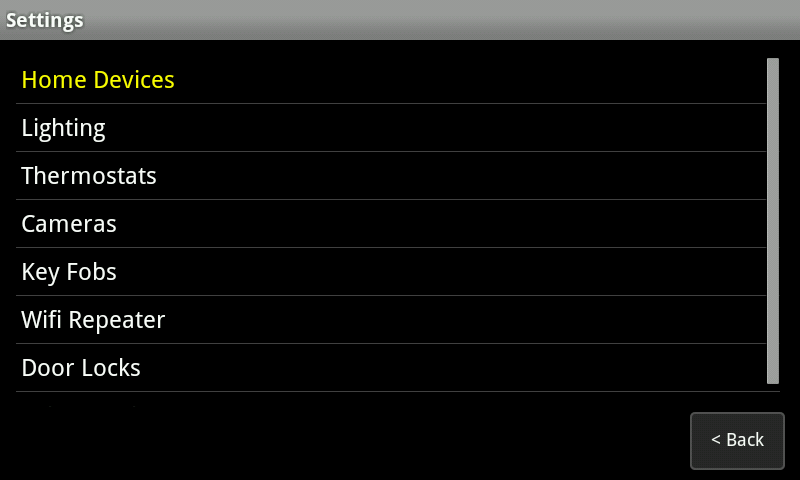
Select ‘Cameras’ and then choose ‘Add a Camera’.
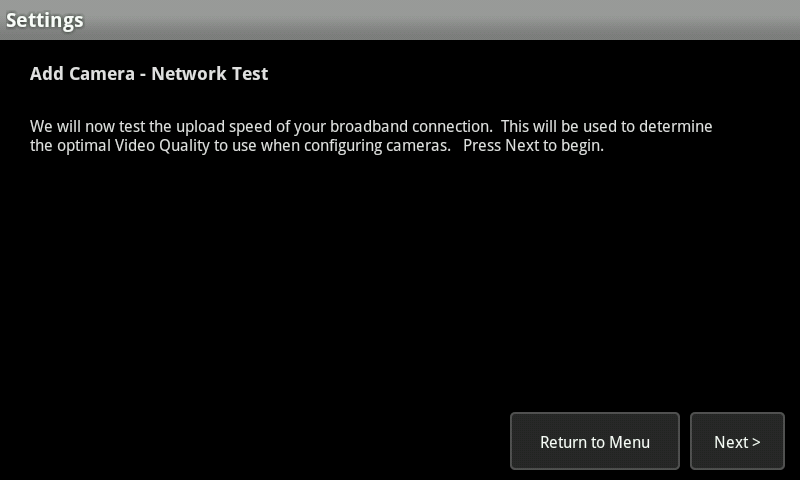
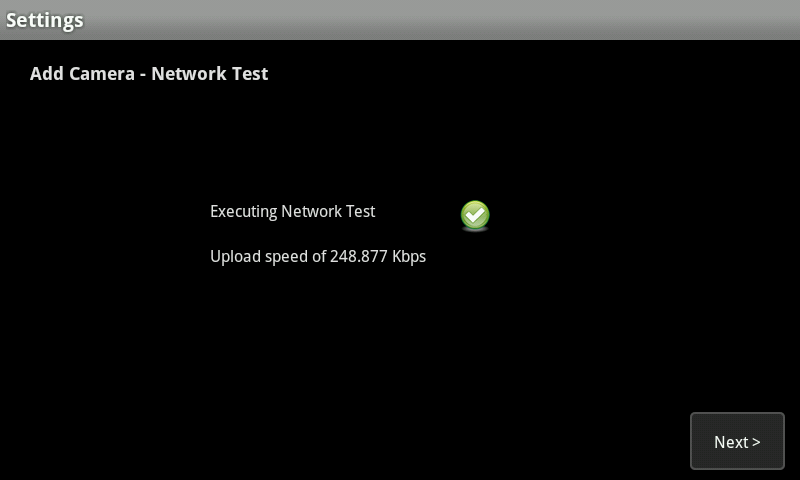
If this is the first camera you are adding to your system, or it’s been awhile since a camera was added, you will be asked to run a Network test. Click ‘Next’ to begin the test and ‘Next’ again once the green check mark appears.
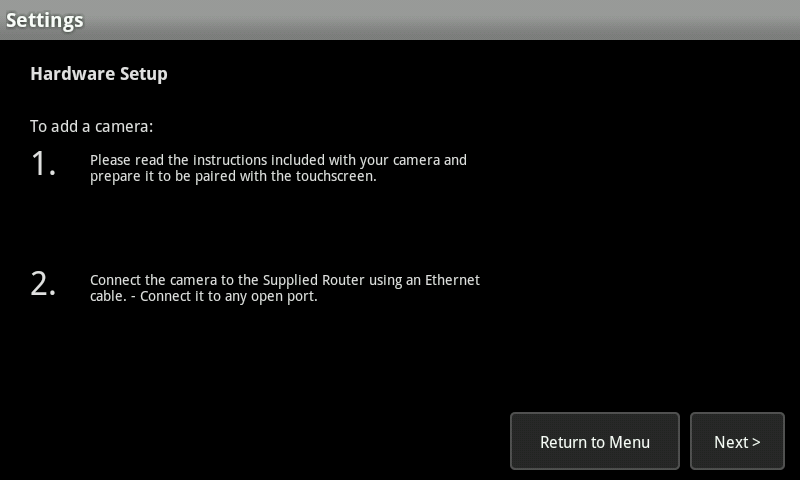
Following the instructions included with your camera, prepare it to be added to your Touchscreen. Click the ‘Next’ button to progress through the setup.
Once the Touchscreen locates your camera, you will be shown the general information. Click ‘Accept’ and then click ‘Next’ to proceed to the next screen.
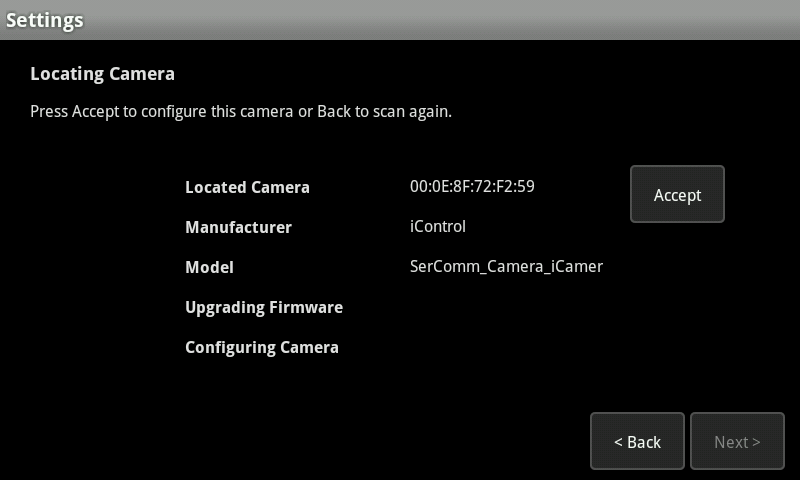
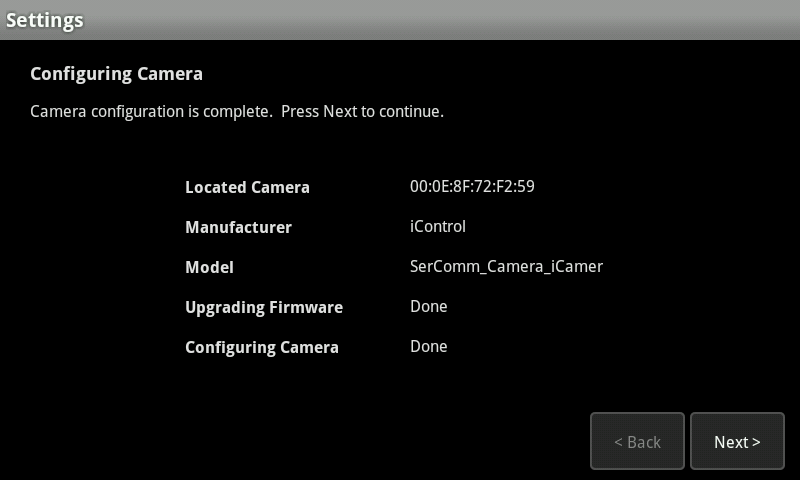
The camera will now check to see if it’s firmware is up to date. If an update is needed, it will download the file at this time. Once the ‘Upgrading Firmware’ and ‘Configuring Camera’ lines say ‘Done’ beside them, click ‘Next’ to proceed to the next screen.
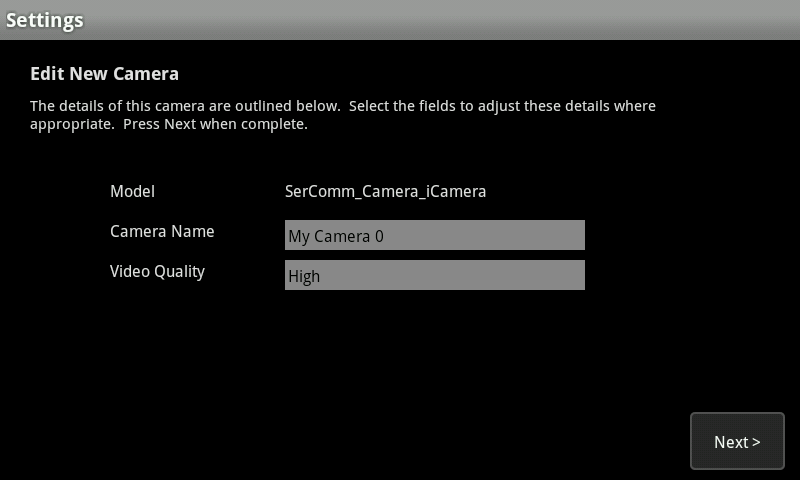
Once the camera pairs, you will have the opportunity to give your camera a name and select the video quality. Make sure to give your camera name that you’ll recognize such as ‘Driveway Camera’.
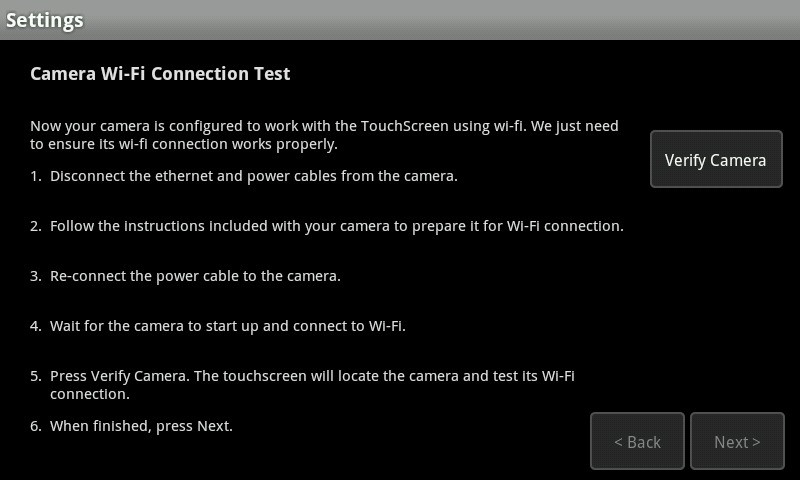
Now that the camera is named, it’s time to locate it where you want. Follow the onscreen instructions and select ‘Verify Camera’ when the camera is ready. Once the camera is located, click ‘Next’.
Your camera is now ready to be aimed where you want it and used.
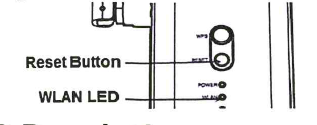
Defaulting
- Press and hold the PoE wifi Reset button on the power supply for 10+ seconds while plugged into power. WLAN LED will begin to blink RED confirming device has been reset.