
The iCamera2 is a True Day/Night IP camera that features high definition 1280 x 720p video resolution and 802.11n WiFi
connectivity. It supports H.264 Baseline, MPEG-4 and Motion-JPEG triple codec and two codec streaming simultaneously.The iCamera is a True Day/Night IP camera with VGA resolution and 802.11n WiFi connectivity. Click on the link below for a guide to pairing the iCamera to your system.
Specifications Installation Pairing Resetting
SPECIFICATIONS
Delivers Excellent 720p HD (1280×720) Video Quality for
Surveillance Recordings
- Provides Dust & Water Protection with IP54 Rated Housing
- Dual Video Streaming (H.264, MJPEG) for High-Quality Videos
- Built-in Infrared LEDs for Night Time Illumination
- Simplified Wireless Network Setup with WPS Function
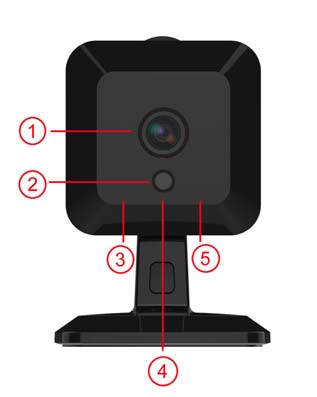
1. Light Sensor: This is hardware sensor to detect light in your surroundings.
2. Lens: No physical adjustment is required or possible for the lens, but you should ensure that the lens cover remain clean. The image quality is degraded if the lens cover is dirty or smudged.
3. POWER/WiFi indicator (Green)
- On (Green) – Power is on.
- Off – Power is off.
- Flashing – Wifi signal-strength indication. The LED indicates SNR for the first 5 minutes after the camera is powered on. Then it will stay solid to indicate power LED for 5 minutes when wireless setup is ready.
- Flashing Low (flashing interval: 100ms) – WiFi signal is weak. SNR: -95 ~ -74dB
- Flashing Middle (flashing interval: 250ms) – WiFi signal is normal. SNR: -75 ~ -60dB
- Flashing High (flashing interval:1000ms) – WiFi signal is strong. SNR: -60 ~ -40dB
4. Network indicator (Green)
- On – LAN/Wireless connection established.
- Off – No active connection on the corresponding LAN port, or not associated to Wireless AP.
- Flashing – Data is being transmitted or received.
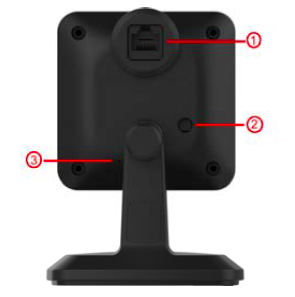
1. LAN Port: Use standard Ethernet cable (RJ45 connectors) to connect your iCamera2 to the router for installation and configuration. The port is also used for power connection when the camera is under wireless mode. A customized PoE (Power over Ethernet) splitter, as a Y-cable, for both Ethernet and DC Jack is provided.
2.WPS/Reset This button has two (2) functions:
- WPS.
- WPS PBC Mode
- Turn on the camera without connecting the Ethernet cable.
- Wait for three minutes, and then press and release (less then 3 seconds). The WPS LED will start blinking. Press the WPS button on the gateway within two minutes.
- The WPS LED will be off and the Network LED will be on if the connection is successful.
- WPS Pin Code Mode
- Turn on the wireless camera without connecting the Ethernet cable.
- Wait for three minutes, and then press and hold the button for over three seconds (3 ~ 10 seconds). The WPS LED will start blinking. Get the pin code in the product label. Enter the pin code on the gateway within two minutes.
- The WPS LED will be off and the Network LED will be on if the connection is successful.
- Reset
- Power On.
- Keep holding the button down for more than 11 seconds, then release.
- WPS PBC Mode
3. Microphone: The microphone is turned off by default until changed by a user.
What’s In the Box
 |
 |
 |
 |
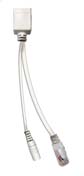 |
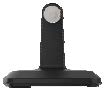
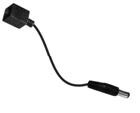
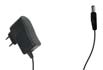
| Camera | Stand | DC Power Adapter | AC Power Adapter | Y-Cable |
 |
 |
|||
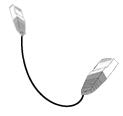
| Ethernet Cable | Dust Cap |
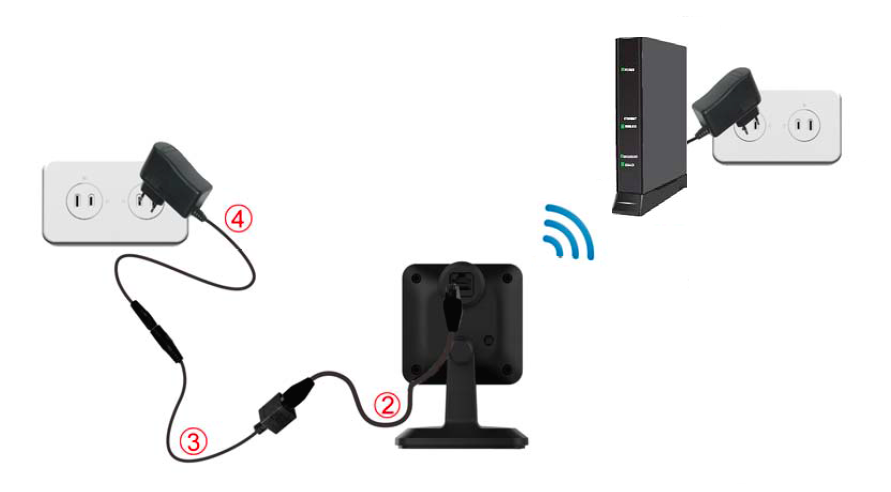
Setup
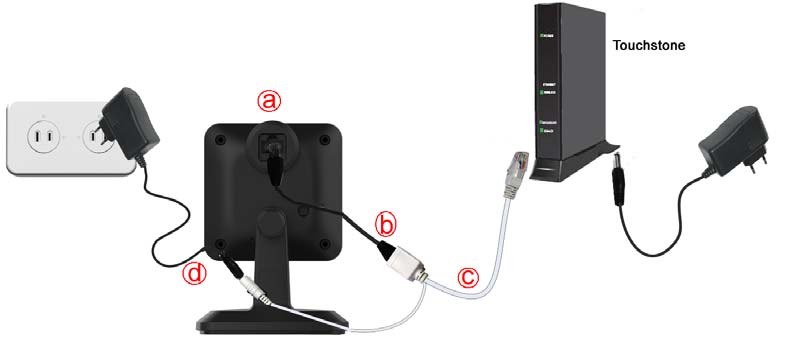
A. Mount the Camera onto the camera stand by gently tightening the camera to the stand.
B. Connect the black Ethernet cable to the LAN port on the back of the Camera.
C. Connect the other end of the Ethernet cable to the Y-cable connector, labeled “Camera”.
D. Connect the other end of the Y-cable to the LAN port of the Hub.
E. Connect the Y-cable to the power adapter and plug into a wall outlet.
F. Wait three minutes until you see two solid green lights on the Camera. Press Next to start Pairing. If you are not in the initial activation flow, log into your system, and navigate to Settings>Cameras>Add a Camera and follow the onscreen prompts until you can view live video in your portal.
Installation
A. To start, disconnect the Ethernet cable from the Y-Cable, labeled “Camera”.
B. Disconnect the Y-Cable from the power cable.
C. Weatherproofing (Optional-skip to E if No)-Ensure weather seal opening s snug but large enough to slip over Ethernet cable connector. Push weather seal over the connector.
D. Connect Ethernet cable and weather seal to back of the camera.
E. Connect the black adaptor cable to the power cable.
F. Connect the Ethernet cable to the black adaptor cable.
G. Unplug the Camera power cable from the wall outlet. Place the camera in desired location.
H. Plug the power cable into the wall outlet. Your camera is ready when you see two green lights on the camera. (Check the LEDs)
Locating
Mounting
NOTE: Make sure your camera is configured and added to your system prior to permanently mounting.
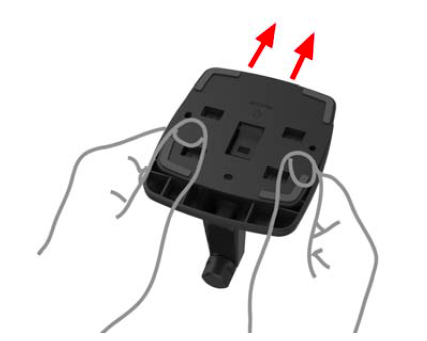
1. Remove the plate from the bottom of the stand
2. Place the plate on the desired position of the wall. Screw three screws into ceiling through the holes of the plate.
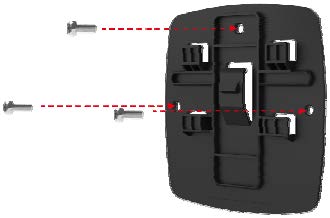
3. Attach the stand to the plate.
Pairing
To a Hub
You can add cameras when you activate Touchstone, or at a later time. If you want to add a camera that was not included with the original Touchstone package, make sure your service provider supports it.
To add a camera, click SETTINGS on the toolbar.
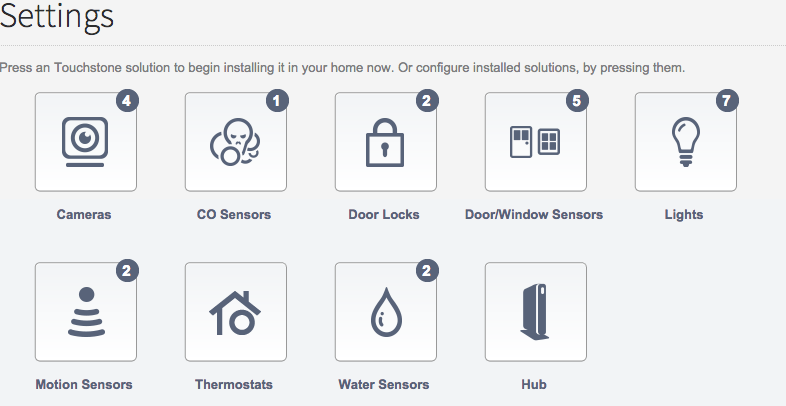
Click Cameras to display the camera settings page.
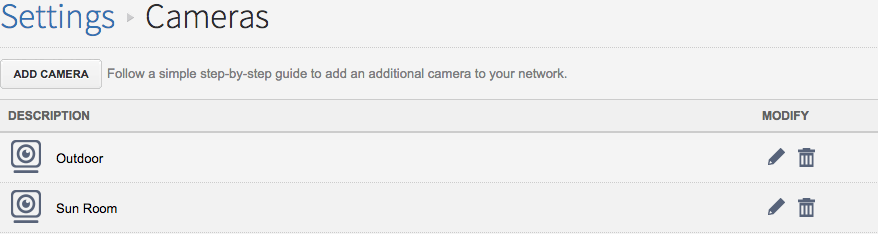
Click ADD CAMERA and follow the on screen prompts.
To a Touchscreen
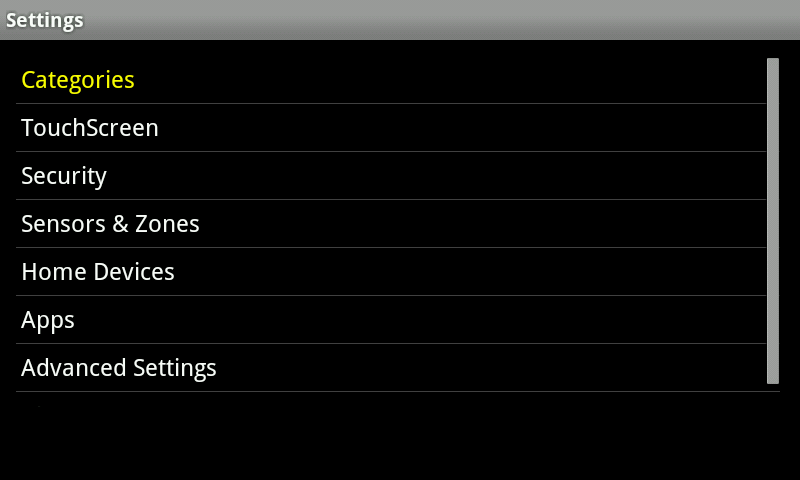
From the main page of the Touchscreen, touch the Settings Icon  and enter your 4 digit master code. This is the code that you use to arm and disarm your system. Choose ‘Home Devices’ from the categories page.
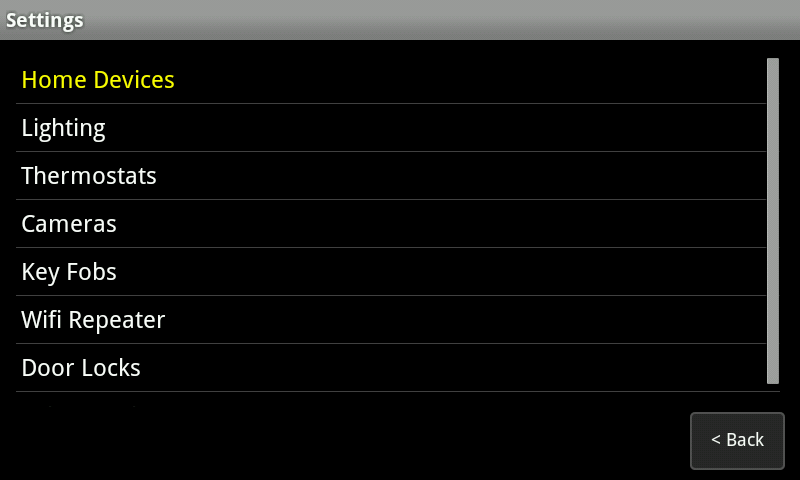
Select ‘Cameras’ and then choose ‘Add a Camera’.
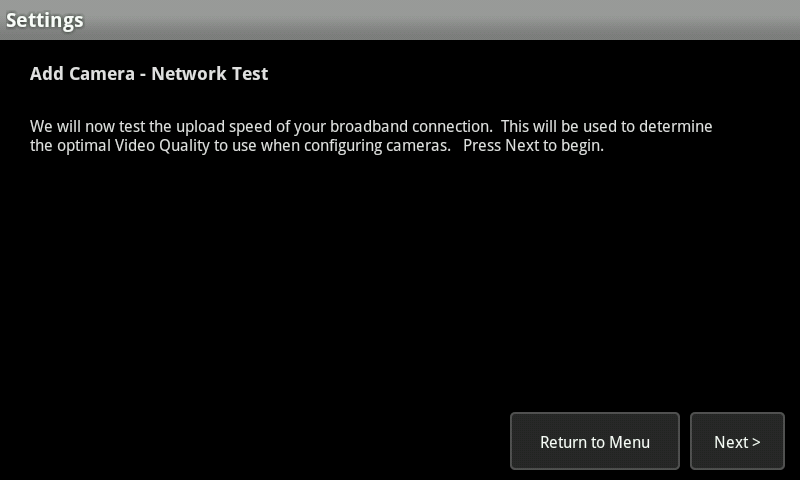
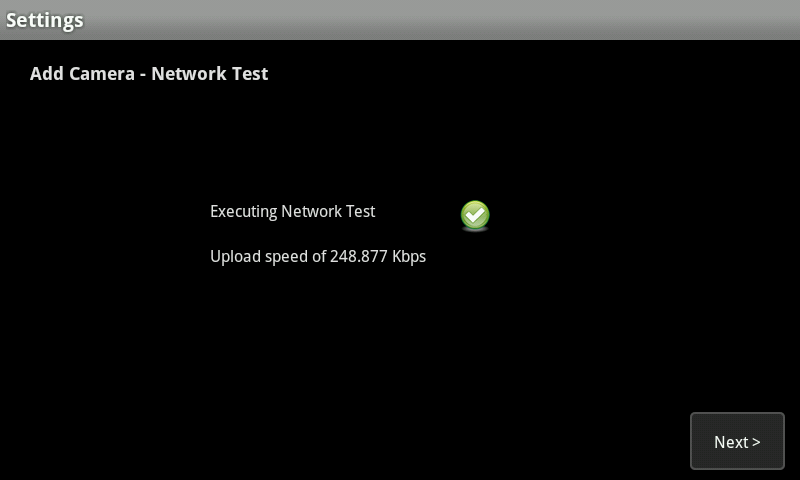
If this is the first camera you are adding to your system, or it’s been awhile since a camera was added, you will be asked to run a Network test. Click ‘Next’ to begin the test and ‘Next’ again once the green check mark appears.
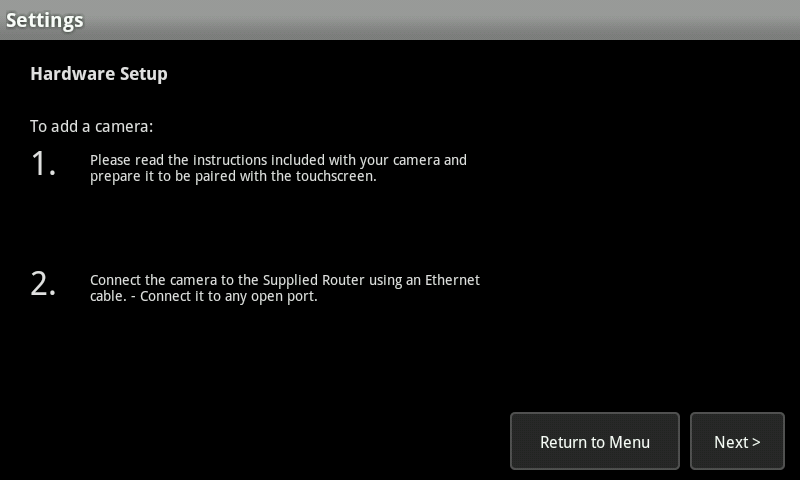
Following the instructions included with your camera, prepare it to be added to your Touchscreen. Click the ‘Next’ button to progress through the setup.
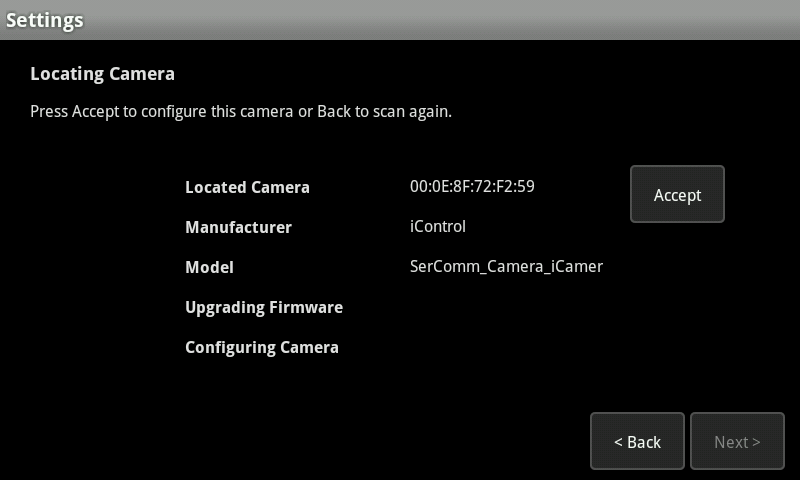
Once the Touchscreen locates your camera, you will be shown the general information. Click ‘Accept’ and then click ‘Next’ to proceed to the next screen.
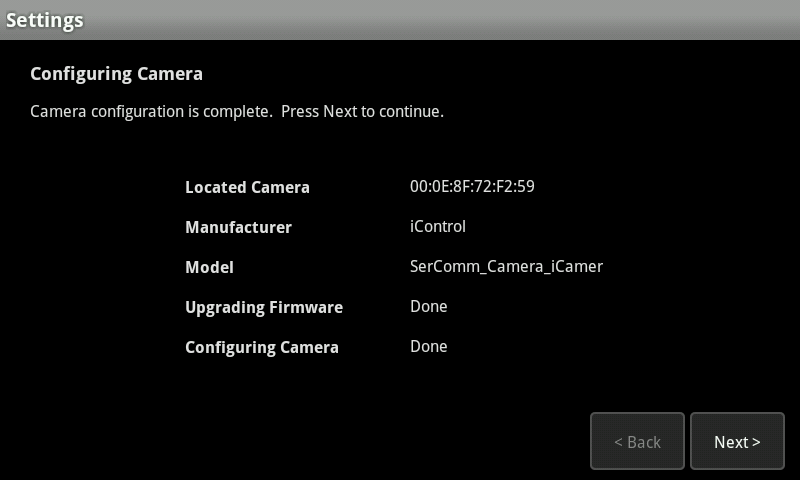
The camera will now check to see if it’s firmware is up to date. If an update is needed, it will download the file at this time. Once the ‘Upgrading Firmware’ and ‘Configuring Camera’ lines say ‘Done’ beside them, click ‘Next’ to proceed to the next screen.
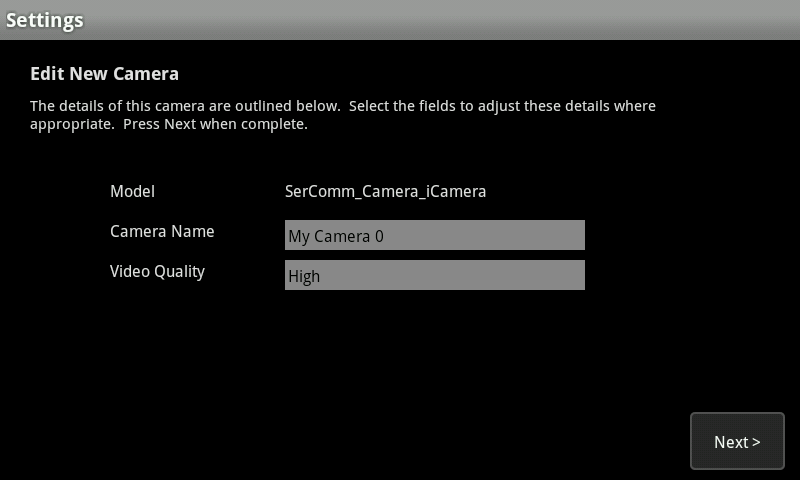
Once the camera pairs, you will have the opportunity to give your camera a name and select the video quality. Make sure to give your camera name that you’ll recognize such as ‘Driveway Camera’.
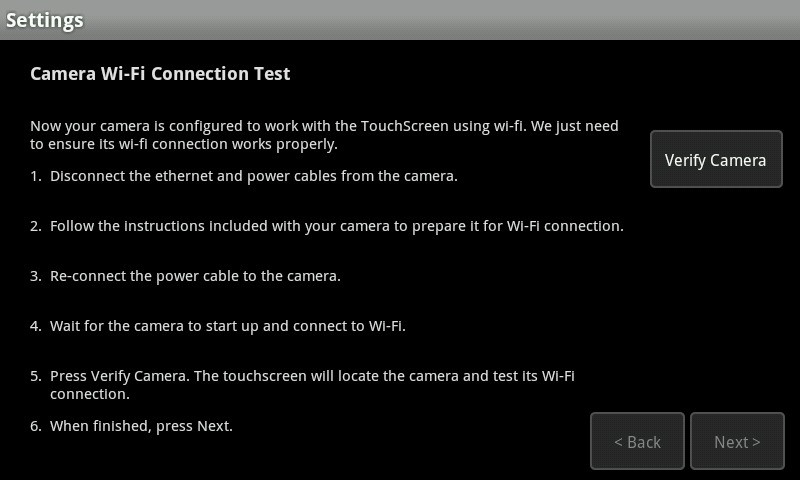
Now that the camera is named, it’s time to locate it where you want. Follow the onscreen instructions and select ‘Verify Camera’ when the camera is ready. Once the camera is located, click ‘Next’.
Your camera is now ready to be aimed where you want it and used.
Defaulting
Ensure that the ethernet cable is connected to the iCamera2 and the other end is connected to the open port of the white Y dongle.
The other end of the white Y dongle should be connected to the LAN port of the HUB.
Make sure the power adapter is connected to the white Y dongle and to a live power outlet.
On the back side of the iCamera2, there is a small black button. Hold this button down for 30 seconds to restore the camera to default settings. DEFAULTING THE CAMERA WILL REQUIRE IT TO BE REPAIRED TO THE HUB.

When the center LED (power) and the left most LED (network) are lit and stable, the camera is ready for pairing.